-
-
-
-
-
-
-
-
-
3D Modeling with SketchUp
-

- Home
- Tools/Links
- DH@Haskins Tutorials
- 3D Modeling with SketchUp
Getting Started with SketchUp
Boston College
Contents
Introduction
SketchUp is a free 3D modeling program based on drawing and manipulating lines and shapes. The controls are easy to use and with a little practice, you can quickly progress to creating simple (or more complicated!) models.
To get started, visit www.sketchup.com to download the software. A paid pro version is available, but for most people, the free version should provide more than enough functionality. The SketchUp website also has some great tutorial videos worth checking out with some more advanced tools.
In this tutorial, I’ll cover a couple of approaches to getting started – drawing from measurements for a fairly accurate model with full 360° views and drawing directly onto a photograph for quick 3D illustrations where only one viewpoint is important and accuracy is less critical.
Tutorial: Drawing from Measurements
Getting started
 Before starting, take a moment to get familiar with the tools. To get the full complement as pictured here, turn on the Large Tool Set by going to the View menu > Tool Palettes > Large Tool Set.
The most important tools for this project will be (1) the pan tool for maneuvering around the model, (2) the draw line and (3) draw rectangle tools, the push tool (4), and the move tool (5). Any mistakes can be quickly removed by using the eraser (6) and clicking on the incorrect line or shape.
Drawing shapes
For this tutorial, we’re going to sketch a basic house. Start with the rectangle tool (4). Click once to place the lower left corner, move your mouse to where you want your upper right corner to be and then click again to finish the shape.
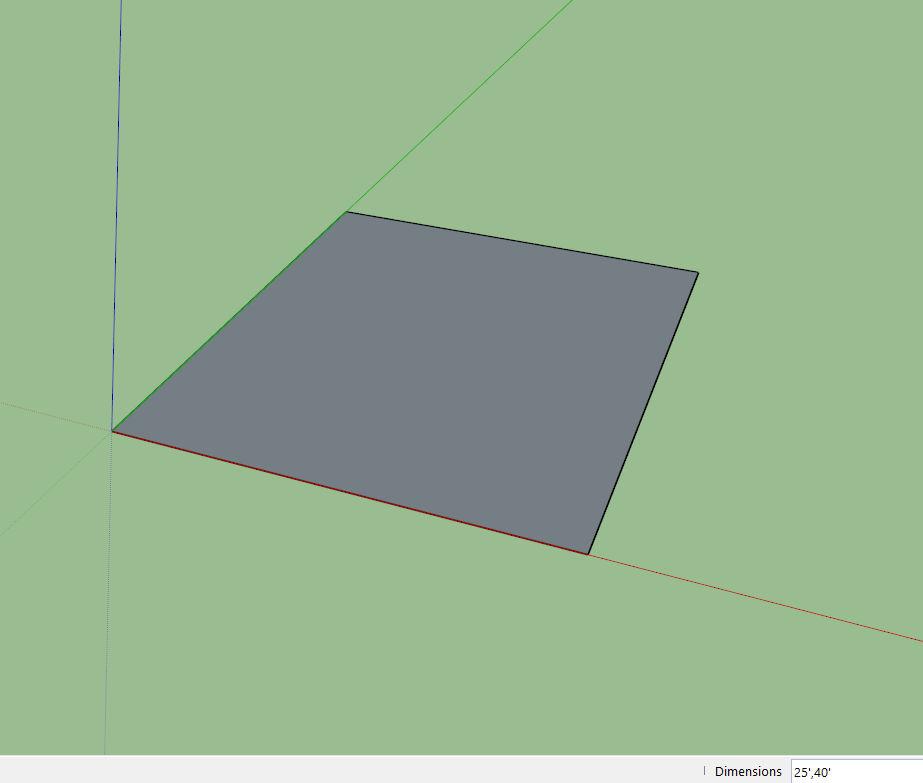
→Tip: To be more precise, before clicking the second time, you can enter the exact dimensions you want in the lower right hand corner of the screen. Just start typing and it will fill in. Pick a size that looks good.
Drawing lines works the same way – click once to start and again to finish or type in dimensions. We could also have drawn four lines to create this rectangle.
Pulling to add height
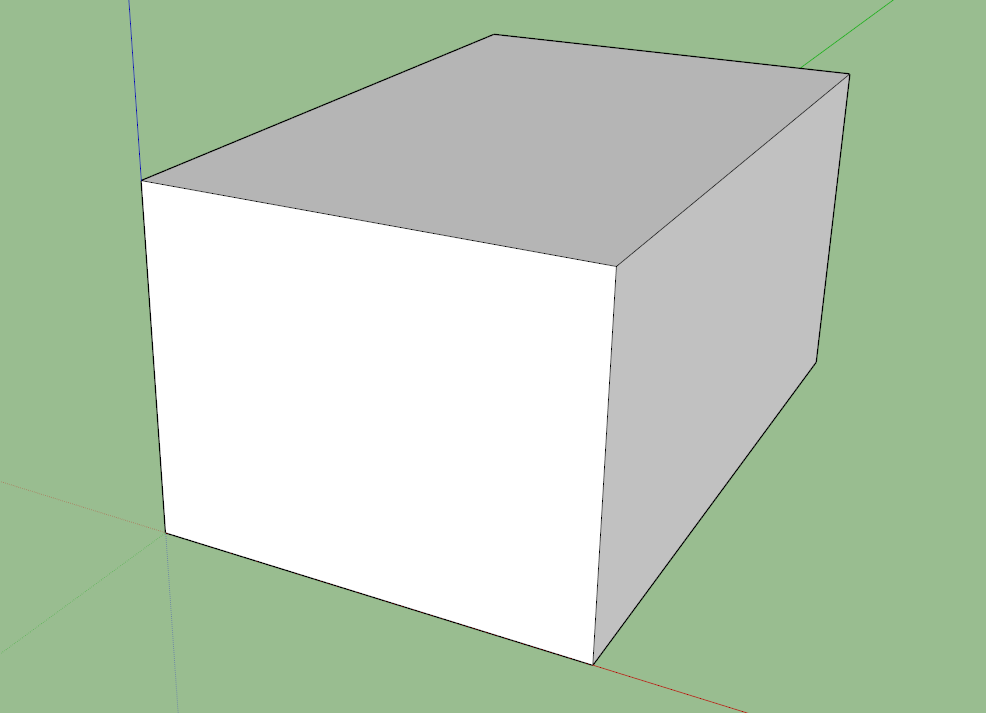
To make our house three dimensional, click the pull tool (5). Click on the surface of the square and move upwards to your desired height and click again to finish or type in a measurement and hit enter. We may need to adjust the view now to see the whole house.
The hand pan tool (2) allows you pan around the object and to zoom in and out with a scrolling mouse wheel. To orbit around the object to inspect other angles, either click the orbit tool (the green and red arrows next to the pan tool) or press down on a mouse scroll wheel.
To add a roof, we’ll draw a line down the middle of the top surface using the line tool (2). With the line tool active, move the mouse over the line marking one edge until you find a spot where it snaps to the midpoint of the line. Click once to start the line and draw across the top to the midpoint on the opposite side and click to finish.
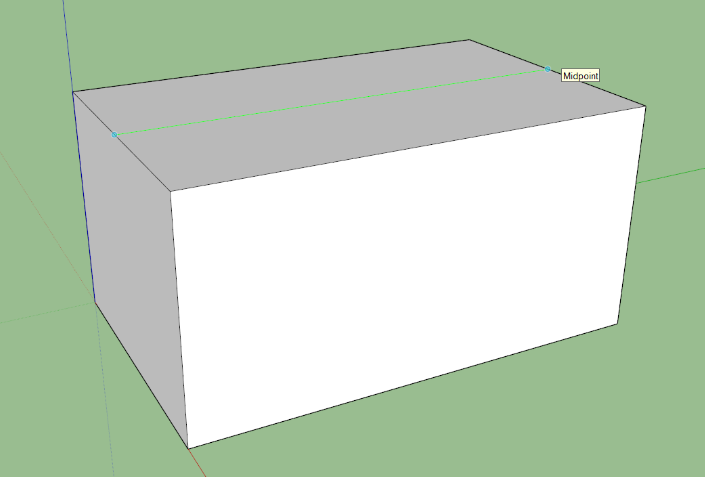
Using the move tool (5), click on this center line and move up to a height you like. Make sure you pull straight up along the blue vertical axis or your roof will be tilted! As you are moving up, you can hold the shift key down to lock the axis of movement to the one you want.

Good
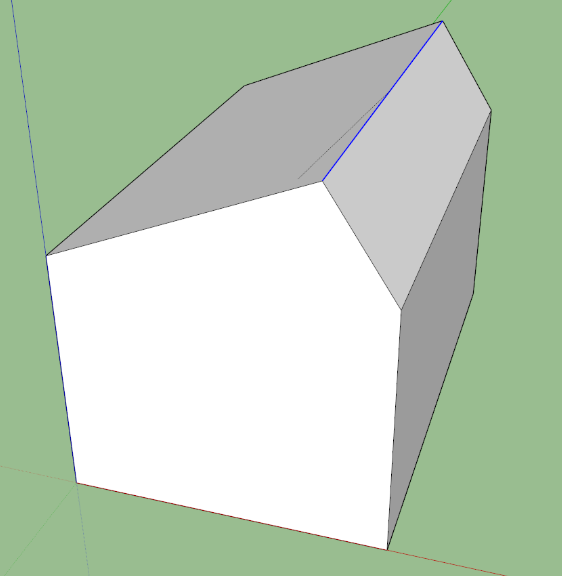
Bad
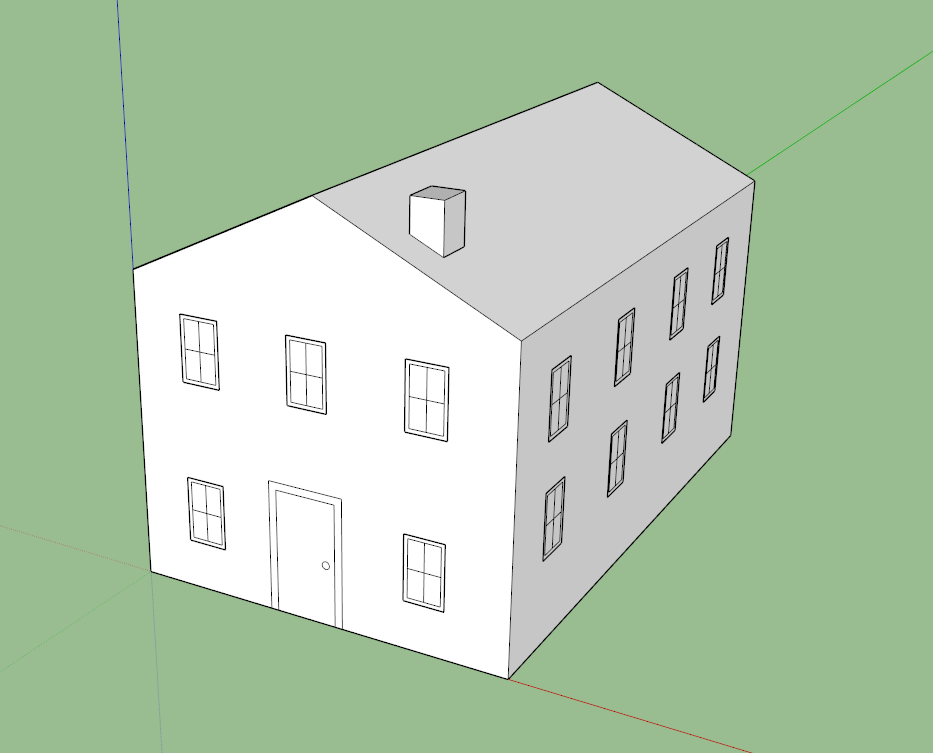
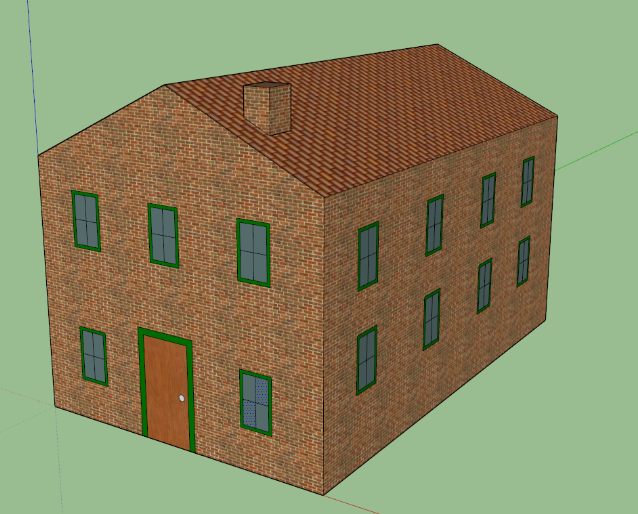
Then you can get creative – add additional rectangles for doors and windows, try adding a chimney, or use the paint bucket to add color or textures, whatever strikes your fancy.
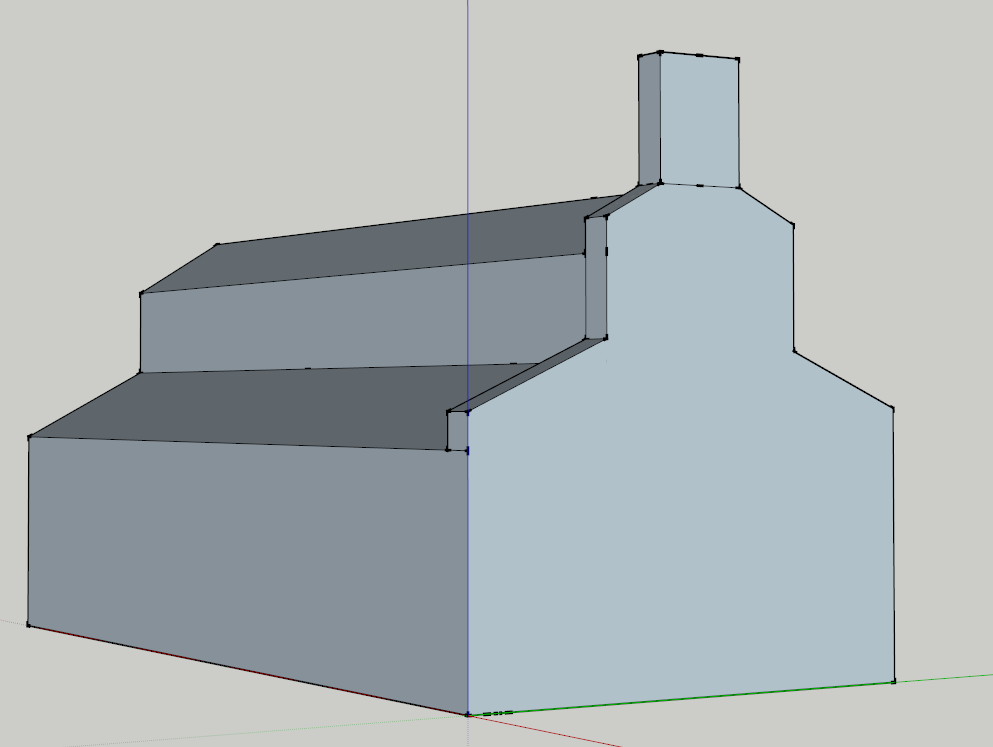
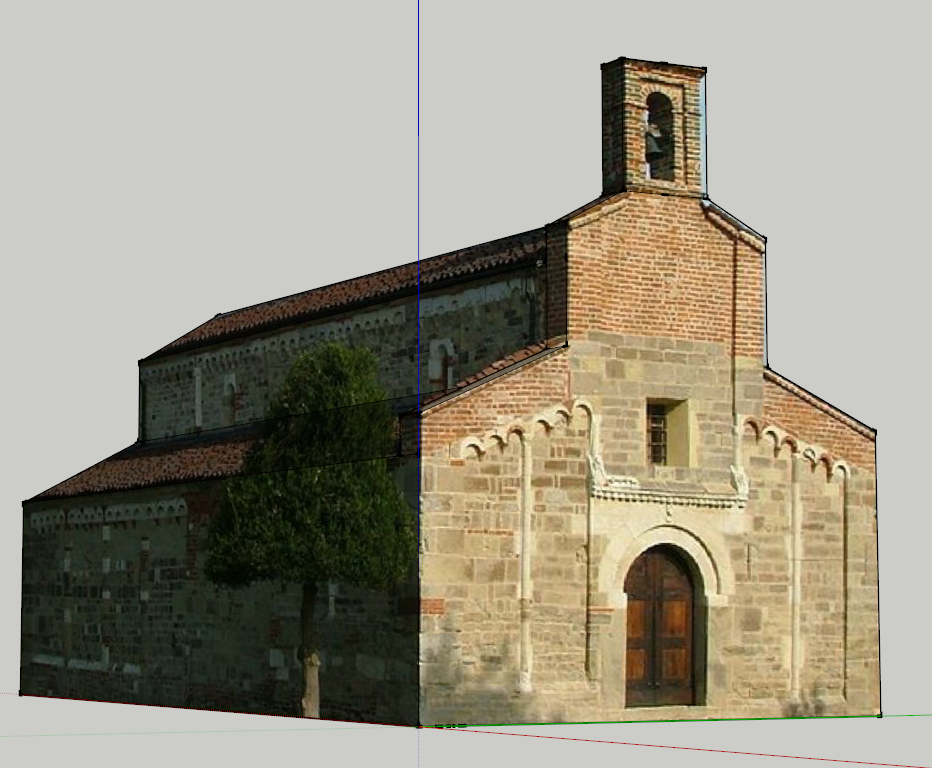
Bonus: The Photo Match Method
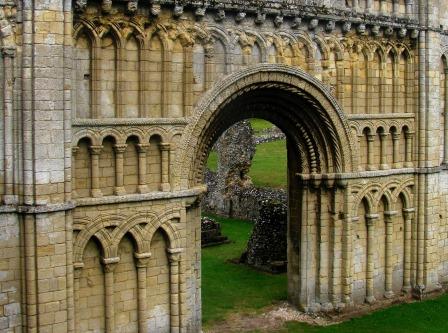
You can also do basic models by drawing directly onto photographs and even apply the photo to the model to give it accurate colors. To do so, open a blank sketchup model and go to Camera > Match New Photo and import the photo you want to turn into a model. Then set the axes by tracing out parallel lines so that the model can be oriented by vanishing perspective.
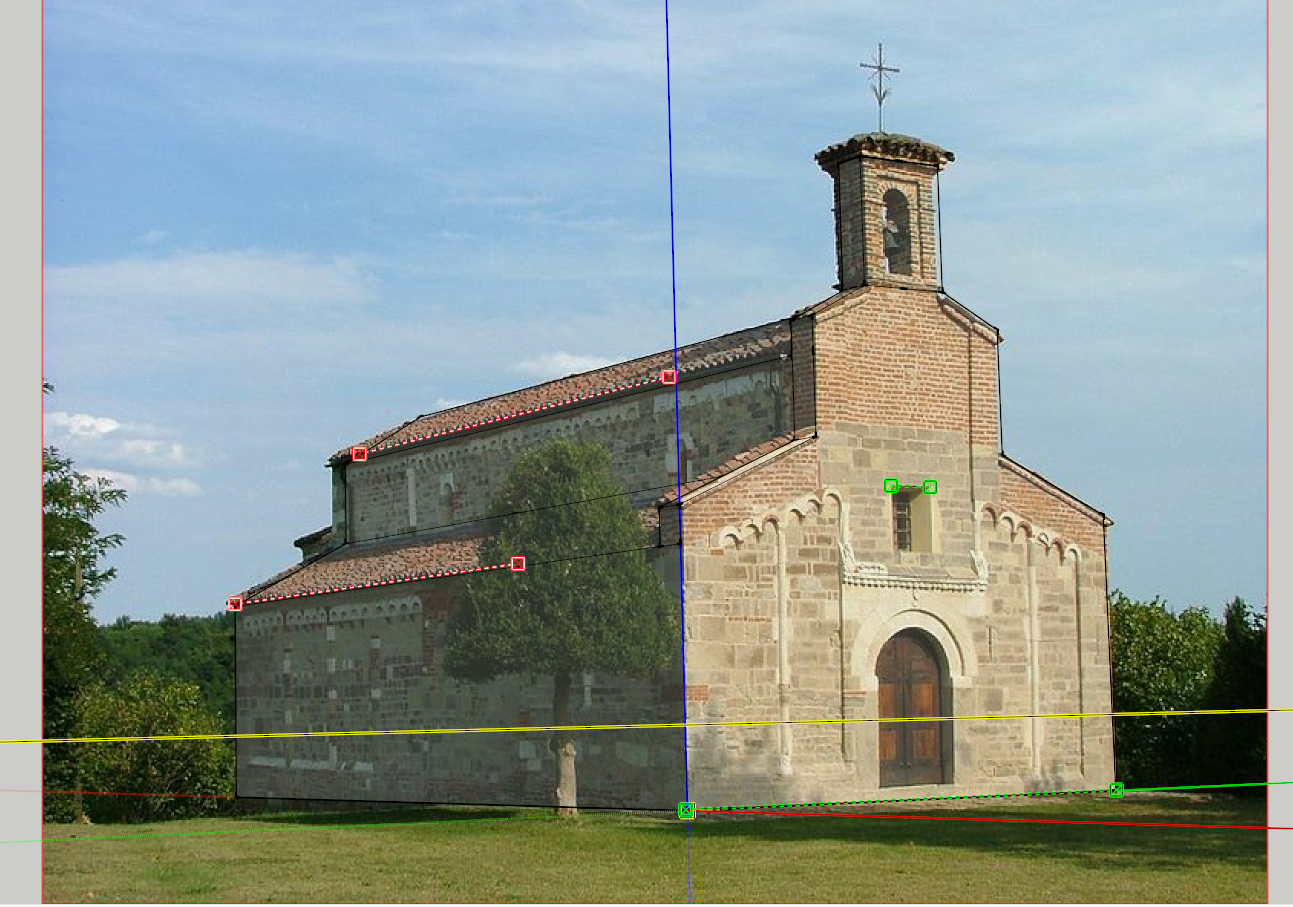
Now you can draw any necessary shapes or lines directly on to the photo to get a quick basic model. Then from the match photo menu, you can “apply photo textures” to color your model with the textures from the photo. Obviously this works better when there aren’t trees in the way!
Further Resources
There are many great online resources for learning more about SketchUp.
The video tutorials at sketchup.com are a great first place to start - http://www.sketchup.com/learn/videos/58
I am also a fan of mastersketchup.com, which has lots of written tutorials like this one and a link to Matt Donley's YouTube channel with some great getting started videos. His 10 tips are worth a look for solid time saving and frustration reducing advice: http://mastersketchup.com/10-sketchup-tips/